1. Install KorGE Forge
KorGE Forge is the IDE for KorGE. You can install it by copy & pasting this command in your OS terminal:
cd "$HOME/Downloads"; curl -fsSLO https://forge.korge.org/install-korge-forge.sh && chmod +x install-korge-forge.sh && ./install-korge-forge.shYou will see something like this on Linux / Mac, on Windows you can open Forge directly:

Then press the Install button, and then the Open button. The installer is OpenSource.
2. Create a Project
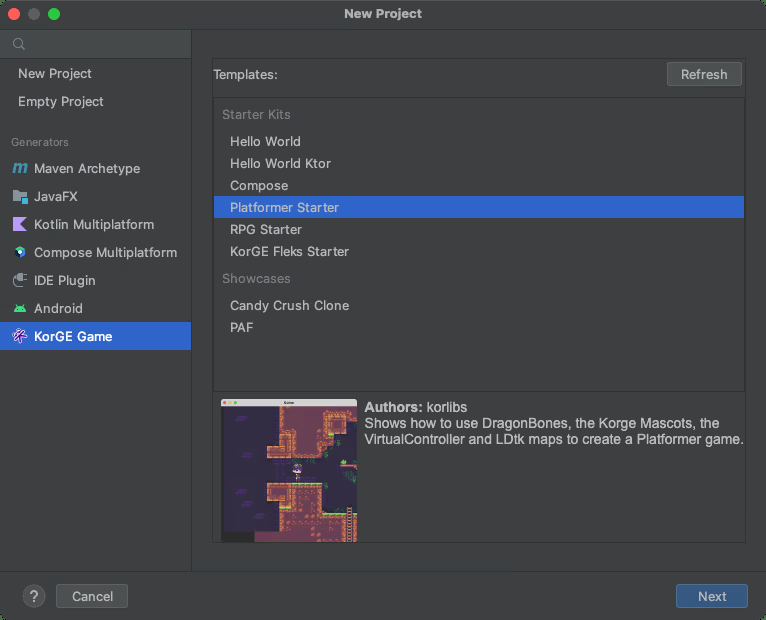
Install one of the starter kits or samples available using the New Project... Wizard:
You can select one of the Starter Kits or one of the Showcases with a full game:
3. Access the KorGE Store
In order to access some KorGE features, you can install them via the KorGE Store.
You can access that store via: https://store.korge.org/
Or inside the IntelliJ Plugin navigation bar:

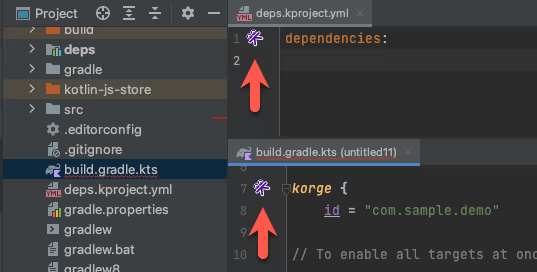
Or when opening your build.gradle.kts or your deps.kproject.yml:
4. Running your code
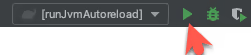
When creating a new project a new run configuration runJvmAutoreload should be available:
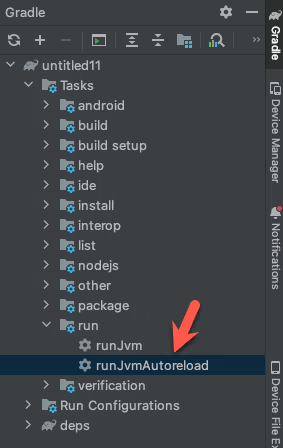
You can also double click on the Gradle → Tasks → run → runJvmAutoreload
to create a run configuration and execute your program: